Gitea is a self-hosted Git service forked from Gogs. It’s very easy to deploy and has a low system usage impact.
It has features like :
- web interface
- wiki
- issues management
- admin dashboard
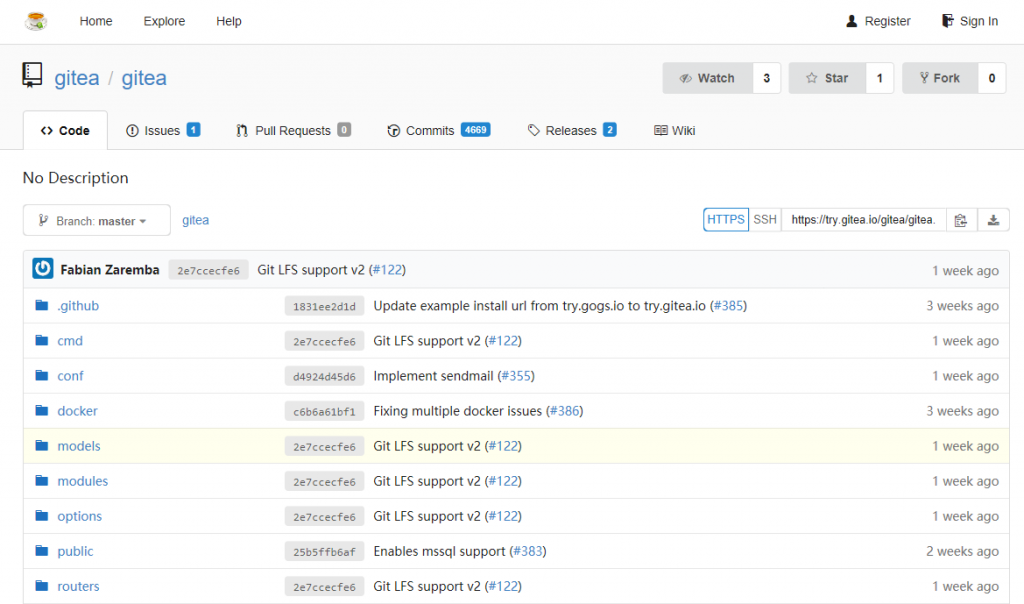
Gitea web interface
In this howto, we will use SQLite as the database backend and the Gitea binary (as there is no Debian package available at this time).
This howto is based on Debian Jessie. But it should work with Debian Stretch (alias testing).
Installing the basics
To be able to run Gitea on Debian you will need a local user without root rights and the git package.
Install git :
sudo aptitude install git
Create a local user without root rights and no right to log on :
sudo adduser --disabled-login --gecos 'gitea' git
Here is the explanation of the two options that I’ve added to the “adduser” command :
- “–disabled-login” won’t ask for any password. So it means that as long there is no password set for this user, he won’t be allowed to log on
- “–gecos” followed by a comment, will populate the finger information automatically (First Name, Last Name, …)
Installing Gitea
Switch to the git user that you have previously created :
sudo su - git
Download the Gitea binary (get the last version here or here) :
wget -O gitea https://dl.gitea.io/gitea/1.4.1/gitea-1.4.1-linux-amd64
Make the download file executable :
chmod +x gitea
Create the necessary directories :
mkdir -p custom/conf
mkdir data
Launch Gitea for the fist time :
./gitea web
Open a webpage in your browser using the IP of your server on the TCP port 3000 (by example : 192.168.1.200:3000) and complete all the information asked by Gitea.
Your configuration file will be in the “custom/conf/” directory on the “app.ini” file. You can find the standard configuration file here if you want to check what you can change.
If you want to change some advanced settings, you’ll want to read the “Configuration Cheat Sheet“.
Installing Supervisor
To be able to run Gitea as a service, we will use Supervisor.
Install it :
sudo aptitude install supervisor
Create the log directory for the Gitea service :
sudo mkdir /var/log/gitea
Create the configuration file for the Gitea service :
sudo vi /etc/supervisor/conf.d/gitea.conf
Put the following information in this file :
[program:gitea]
directory=/home/git/
command=/home/git/gitea web
autostart=true
autorestart=true
startsecs=10
stdout_logfile=/var/log/gitea/stdout.log
stdout_logfile_maxbytes=1MB
stdout_logfile_backups=10
stdout_capture_maxbytes=1MB
stderr_logfile=/var/log/gitea/stderr.log
stderr_logfile_maxbytes=1MB
stderr_logfile_backups=10
stderr_capture_maxbytes=1MB
environment = HOME="/home/git", USER="git"
Restart the supervisor service :
sudo service supervisor restart
Check the content of the Gitea log file :
sudo tail /var/log/gitea/stdout.log
Check if the service is running :
ps -ef | grep gitea
You should have something like that :

Use Gitea with Nginx as a Reverse Proxy
If you want to use Gitea behind a reverse proxy using Nginx with SSL (using Let’s Encrypt with certbot) you can use the following configuration file :
server{
        listen 80;
        server_name mygitserver.tld;

        location /.well-known/acme-challenge {
                root /var/www/git;
        }
        location / {
                return 301 https://$host$request_uri;
        }
}

server{
        listen 443;
        ssl on;
        server_name mygitserver.tld;
        ssl_certificate /etc/letsencrypt/live/mygitserver.tld/fullchain.pem;
        ssl_certificate_key /etc/letsencrypt/live/mygitserver.tld/privkey.pem;
        location / {
                proxy_pass http://127.0.0.1:3000;
                proxy_set_header Host             $host;
                proxy_set_header X-Real-IP        $remote_addr;
                proxy_set_header X-Forwarded-For  $proxy_add_x_forwarded_for;
                #max_body_size will allow you to upload a large git repository
                client_max_body_size 100M;
        }
}
In this case, Nginx will be configured to allow the Let’s Encrypt server to get the challenge file in the “/.well-known/acme-challenge” directory. To do that, you will have to create the following directory : “/var/www/git” and give Nginx the right to read files on it.
Then you will have to install certbot. You can find it in Debian Backports.
sudo apt-get install certbot -t jessie-backports
To get the certificate file, you can use the following command :
certbot certonly --webroot -w /var/www/git -d mygitserver.tld
Remember that Let’s Encrypt certificate is only valid during 90 days, so put this in your crontab to automatically generate new certificate before it expires :
0       1       1       *       *       certbot renew --quiet
36      8       2       *       *       certbot renew --quiet
You will find the following settings in the “[server]” part of the Gitea “app.ini” file :
[server]
PROTOCOL = http
DOMAIN = localhost
ROOT_URL = %(PROTOCOL)s://%(DOMAIN)s:%(HTTP_PORT)s/
HTTP_ADDR = 0.0.0.0
HTTP_PORT = 3000
Change them by :
[server]
PROTOCOL               = http
DOMAIN                 = mygitserver.tld
ROOT_URL               = https://mygitserver.tld
HTTP_ADDR              = 0.0.0.0
HTTP_PORT              = 3000
Then, to apply, restart the supervisor service :
sudo service supervisor restart